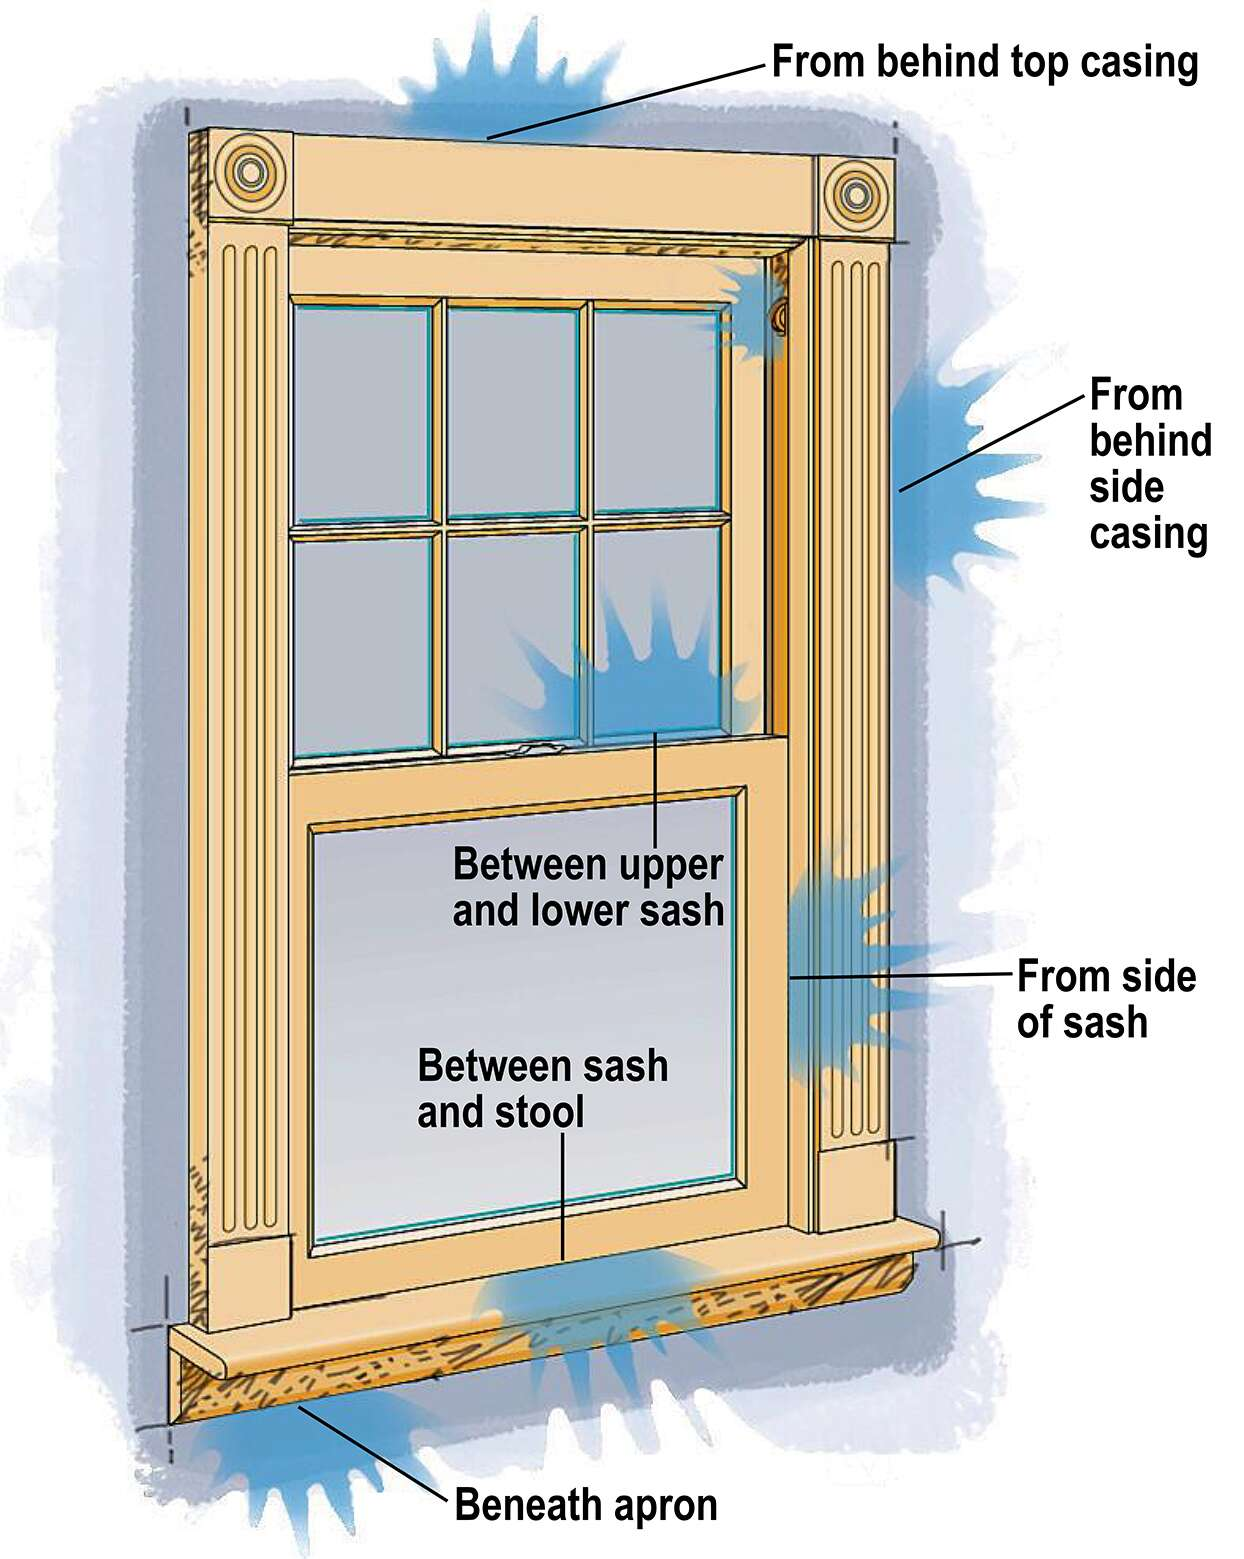
Besides being unpleasant, door drafts force your heating system to work harder (and consume more energy) to keep your home at a consistently comfortable temperature. You can go a long way toward solving the issue by weatherstripping your doors. Here’s how to do it correctly.Door drafts can be a cause of real discomfort. Besides the immediate unpleasantness of a chilly gust invading the warmth of your home in winter, there’s also the impact that drafts can have on your energy bills. That’s where weatherstripping comes in. According to Energy Star, the installation of weatherstripping can save you up to 20 percent on heating and cooling costs. Best of all, virtually anyone can install weatherstripping; this is definitely not a sophisticated DIY. But to coax the greatest value from its insulating properties, weatherstripping must be installed correctly. Learning how to weatherstrip a door is pretty simple, and you’ll almost certainly find weatherstripping to be a fairly quick and easy process. Prepare the area, take careful measurements, cut the weatherstripping and then adhere it in place.
STEP 1: Prepare the area and take measurements.
First, clean the door and the jamb, removing as much dirt and debris as possible. If any grime remains after scrubbing with soapy water, consider using fine-grit sandpaper to eliminate residual buildup.Once you’ve got the doorway cleaned, proceed to do some measuring. Because you’ll want door seal strips along both sides of the door, as well as across the top and bottom, be sure to carefully measure all those areas.
STEP 2: Tighten the door’s hinges.
Before you start cutting the weatherstripping, make sure the door hinges are tight. Using the doorknob, lift the door upward. If there’s some play, and the door moves upward, tighten the screws on the top hinge. And then make sure the screws in the bottom hinge are secure, as well. This ensures the door is tightly fitted and squarely hung, which will allow the newly installed weatherstripping to fit the gaps evenly and do its job properly.
STEP 3: Measure the jamb.
You need to answer two questions. First, how wide is the gap between the door and jamb? (Be sure to measure twice, once along the side, and again along the top. These measurements might differ.) Second, how wide is the jamb? While the answer to the first question tells you how thick the weatherstripping you purchase can be, the second answer reveals how wide. Plan to buy enough weatherstripping to run across the width and height of the door.
STEP 4: Choose the correct weatherstripping.
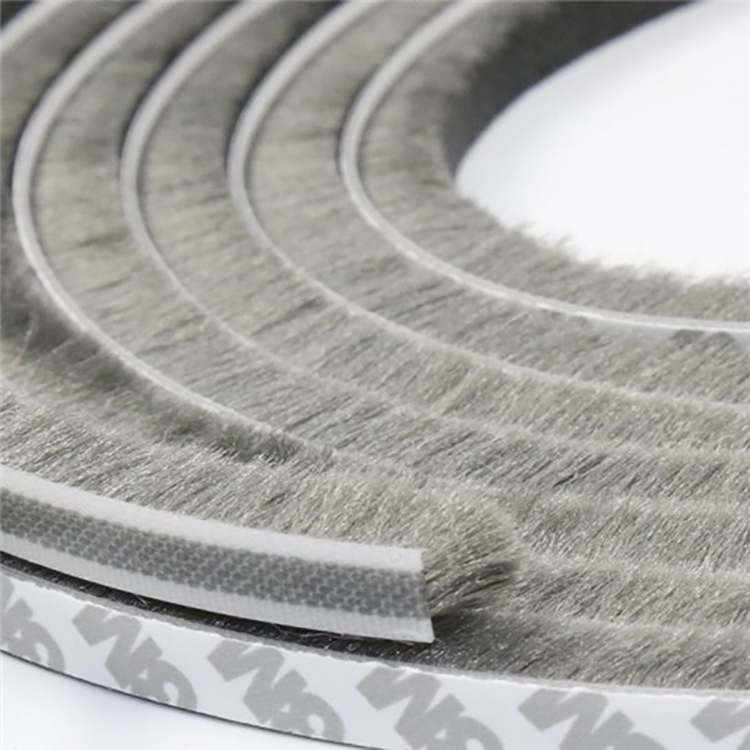
Weatherstripping comes in a variety of materials. Each has pros and cons. Felt weatherstripping offers the benefits of being cheap and very easy to cut and install, but because it’s not very durable, it’s rarely used on doors.Marginally more expensive is easy-install foam weatherstripping . Though foam wears better than felt, neither boasts the durability of rubber, the most expensive option. Rubber insulates well, but it can be somewhat challenging to install. Unlike the other options, it often must be nailed into place.
STEP 5: Cut your weatherstripping into segments and check the cut.
With your chosen weatherstripping at the ready, proceed to cut three pieces—one for the top, and two for the sides.
STEP 6: If required, adjust the cut.
Before you begin to permanently apply the new weatherstripping, hold each of your pieces up to the door frame to confirm you’ve cut the lengths properly. If they’re a bit too long, that’s ok; you can trim the excess after the stripping is in place.
STEP 7: Tack, snap, or adhere the weatherstripping to the door.
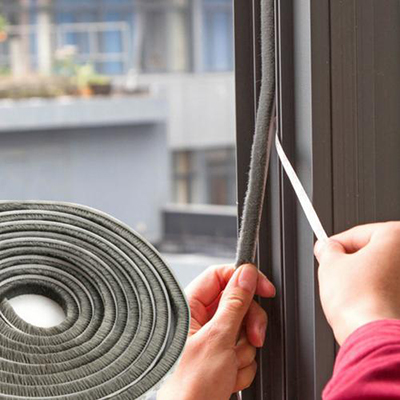
If the product features an adhesive back, peel it away and press it into place around the perimeter of the door jamb, not the door itself. Even if your weatherstripping has adhesive, you may wish to reinforce the installation with heavy-duty staples or small tacking nails. Either will help keep the weatherstripping in place over time.
STEP 8: Install a door sweep.
To complete the job, install a sweep along the bottom of the door. The most common type of door sweep consists of a metal band from which a strip of rubber juts down. When the door opens, the rubber flexes so as not to be an impediment, and when the door closes, the rubber provides a strong air seal.
contact us
Company: Sichuan Jiayueda Building Materials Co., Ltd.
Contact: grace Lee
Email: gracelee@jyd-buildingmaterials.com
WhatsApp: +86 173 4579 3501
Post time: Apr-29-2022


